Specification of Manufacturing Route for the Main Components
Different processes were selected according to the material and function of each part.
| Component | Material | Manufacturing process | Surface finish |
| Upper and lower housings | PC | CNC machining | Polishing and custom painting |
| Control-panel parts | PC | CNC machining | Surface preparation and painting |
| Buttons | Silicone rubber | Prototype molding | Painting and screen printing |
| Internal supports | Aluminum alloy | CNC milling | Chromate conversion coating |
| Locating pins | Brass | CNC turning | Deburring and cleaning |
By coordinating these parts within one project, we could check their fit after finishing instead of asking the customer to resolve assembly issues between components from different suppliers.
CNC Machining the PC Housings
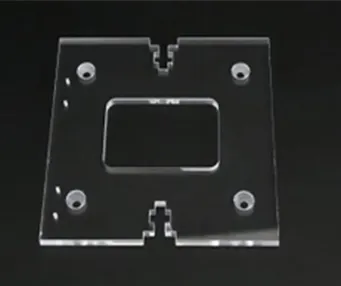
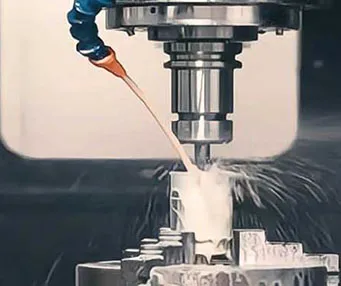
The exterior housings were machined from solid PC material. CNC machining was suitable for this development stage because it allowed the customer to obtain strong, dimensionally accurate parts without investing in an injection mold.
The machining sequence covered the curved exterior surfaces, internal cavities, display opening, button locations and mounting features. PC requires controlled cutting conditions because excessive heat or clamping pressure can introduce stress and deformation, particularly around thin walls and large pockets.
Enough material support was retained during the early operations to keep the parts stable. The housings were then inspected before hand finishing, allowing us to confirm the machined dimensions before polishing and painting changed the surface condition.
Polishing and Painting to the Customer’s Color
Machining accuracy was only part of the requirement. As the housing was highly visible, its surface had to be suitable for a presentation-quality prototype.
The PC parts were sanded and polished in stages to remove cutter marks and smooth the transitions between curved surfaces. Care was taken around joint lines, recesses and control openings, where excessive manual finishing could alter the fit.
The prepared housings were painted according to the color specified by the customer. Rather than evaluating the color alone, we also checked gloss, texture and consistency between adjacent components. The finished surfaces were inspected for scratches, dust marks, uneven coverage and visible preparation lines.
Coating buildup was controlled around the button openings and mating edges. This helped maintain an even enclosure gap and prevented the silicone controls from rubbing against the painted surfaces.
Silicone Buttons with Coating and Screen Printing
The flexible buttons formed an important part of the product interface. They needed to match the appearance of the enclosure while remaining comfortable and responsive during operation.
After molding, the silicone parts were prepared for painting with a coating system compatible with the material. The operating symbols were then applied by screen printing according to the customer’s artwork.
Silicone can be difficult to coat because conventional paint and ink may not adhere reliably to its surface. Suitable preparation and material compatibility were therefore important for reducing peeling, cracking and premature wear.
The finished buttons were checked for color consistency, print position and surface defects. They were also installed in the painted housing to verify their height, clearance and movement. Testing the actual combination of housing and button was more useful than approving either part separately.
Internal Aluminum Components
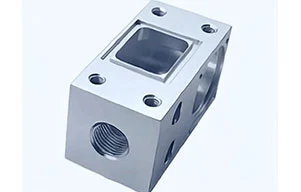
Several aluminum parts were CNC machined to support and locate components inside the device. Their mounting holes and contact surfaces influenced the position of the control panel and other internal elements, so these features were inspected before surface treatment.
The parts received a chromate conversion coating after machining. This treatment provides corrosion protection while adding relatively little thickness, making it appropriate for internal components with mating surfaces and fitted features.
Any areas requiring electrical contact, grounding or special masking can be identified on the drawing before finishing.
CNC-Turned Brass Pins
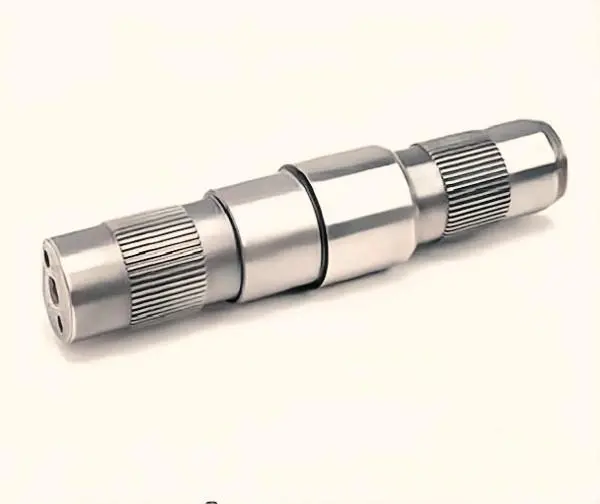
The assembly also included several small brass pins produced by CNC turning. Their diameters, shoulder positions and overall lengths were controlled according to the drawings.
After machining, the pins were deburred and cleaned. Particular attention was given to the edges because residual burrs could interfere with installation or damage the surrounding plastic parts.
These pins represented only a small portion of the product, but their fit affected the positioning and repeatability of the assembly.
Trial Assembly and Final Inspection
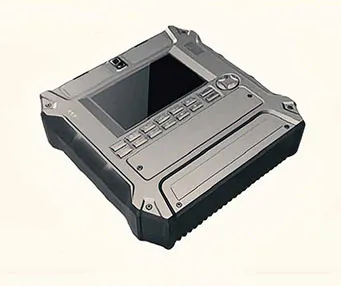
Once machining and finishing were complete, the approximately 20 parts were brought together for trial assembly.
We checked the alignment of the upper and lower housings, the gaps around the control panel, the movement of the silicone buttons and the installation of the internal supports and brass pins. The assembly sequence was also reviewed to confirm that screws and locating features remained accessible.
Finally, the exterior was inspected again for scratches, color variation or handling marks introduced during assembly. The completed prototype was then cleaned and prepared for shipment to the United States.
This final build was an important part of the project. Inspecting individual dimensions can confirm whether each component follows its drawing, but only an assembled unit can show whether the full product fits and presents as intended.
Rapid Prototyping for Multi-Part Products
YS RAPID provides rapid prototype services for electronic equipment and other products that combine plastic housings, metal components, silicone parts and custom finishes.
Our team can coordinate CNC machining, CNC turning, prototype silicone molding, painting, printing, surface treatment and assembly based on the needs of each project. This gives customers one point of contact while the parts move through different production processes.
For a project review, please send your 3D CAD files, 2D drawings, BOM, required quantity, material specifications, color information and assembly requirements. We will evaluate the parts together and recommend a practical route for prototype manufacturing.
 EN
 jp
 ko
 fr
 de
 es
 it
 pt
 tr
 ar
 iw