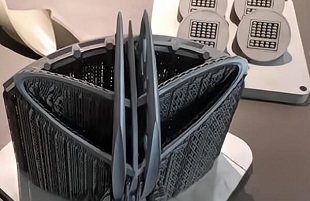
The Process of Vacuum Casting Functional Prototypes
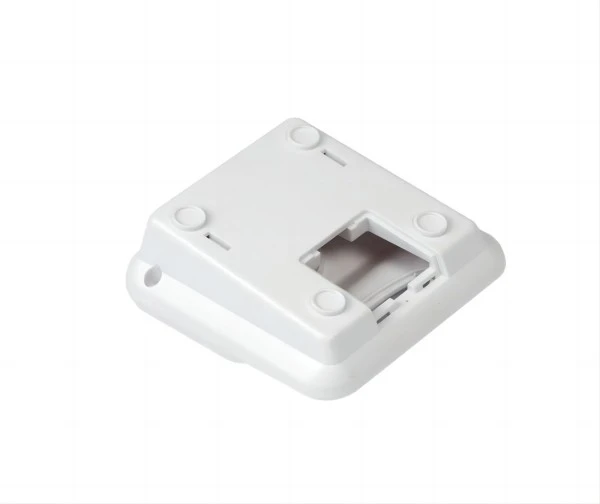
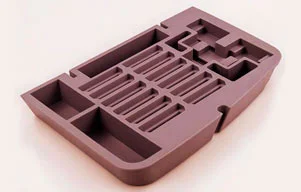
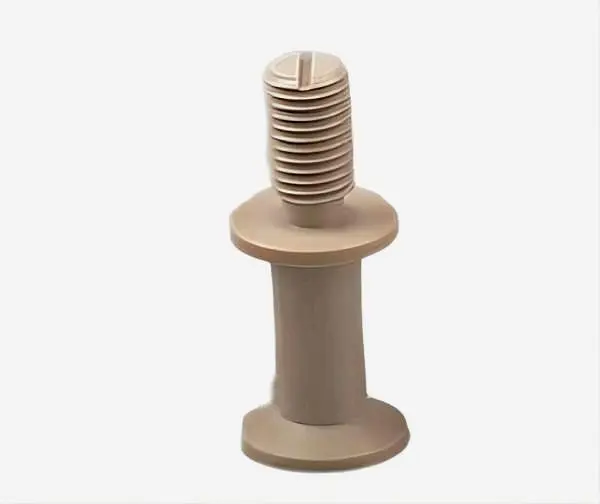
Vacuum casting is a popular manufacturing process for creating functional prototypes. It involves creating a mold of the desired object and then injecting liquid material, such as polyurethane, into the mold under vacuum. Once the material has hardened, the mold is removed, and a functional prototype is created.
Here are the steps involved in vacuum casting prototyping:
Create a 3D CAD model of the desired object: Use computer-aided design (CAD) software to create a 3D model of the object you want to prototype.
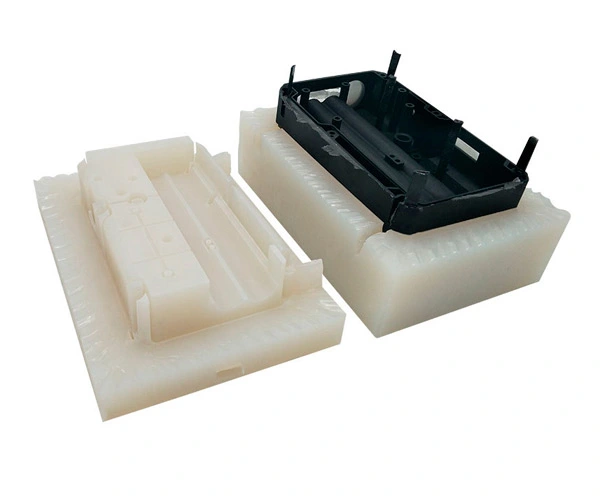
Create a mold: Use the 3D CAD model to create a mold. The mold can be made from various materials, such as silicone or polyurethane.
Prepare the mold: Apply a release agent to the mold to prevent the liquid material from sticking to it.
Mix the liquid material: Mix the liquid material according to the manufacturer's instructions.
Pour the material into the mold: Pour the mixed liquid material into the mold. Make sure the mold is completely filled, and tap the mold to remove any air bubbles.
Place the mold under vacuum: Place the mold into a vacuum chamber, and apply a vacuum to remove any remaining air bubbles.
Cure the material: Allow the material to cure according to the manufacturer's instructions.
Remove the mold: Once the material has cured, remove the mold from the vacuum chamber, and carefully remove the prototype from the mold.
Finish the prototype: Remove any excess material or flashing from the prototype, and finish it as desired.
Vacuum casting is a cost-effective way to create functional prototypes, especially if you only need a small number of precision mechanical parts. It is also ideal for creating prototypes that have complex shapes or features that cannot be easily achieved with other manufacturing processes.

 EN
EN
 jp
jp  ko
ko  fr
fr  de
de  es
es  it
it  pt
pt  tr
tr  ar
ar  iw
iw 